You have 0 product(s) in your cart.
TOTAL
AU$ 0.00
Abyss Scuba Diving
A duck dive is a basic surfing maneuver that lets you quickly get your board down through the surf and out onto the wave. To perfect your duck dive, follow these steps:
1. Start by paddling hard into the wave before it breaks.
2. When you feel the wave starting to break, bring
This article covers duck diving for freediving, why it is a critical skill to master, and how to execute one successfully.
The duck dive is the foundation of your entire dive. A good duck dive will have you at five meters with almost no effort, while a poor duck dive will leave you thrashing about, using up your precious oxygen supplies before you have even left the surface.
The secret to a good duck dive is to make each component flow seamlessly into the next so you use minimal effort to get your body and fins under the surface. It's difficult at first to coordinate each stage, not to mention perform it upside down, so let us look at the forces at work and how to make them work to your advantage.
The best position for starting a duck dive is on your front, breathing through a snorkel, as you are ready to start the duck dive without changing anything. If you choose to breathe up on your back, you will need to factor in a roll onto your front before you leave the surface, and this can be complicated if you are wearing a lanyard. If you breathe upright, you will need to assume a horizontal place to start the duck dive after your final breath.
For simplicity's sake, we will assume that you are lying on your front, snorkelling in, breathing in a very relaxed fashion next to a line. Unless there is zero current, you will find it helpful to lightly hold the dive line in one hand, keeping it next to your body. This ensures it is in the correct position when you come to do the duck dive. I find it helpful to hold onto the line with the hand to which my lanyard is attached so that it does not cross my body.
You want to keep the dive line next to you so you can make sure you duck dive ahead of the line by about a metre. This ensures that when you duck dive, you automatically face the dive line and are close enough for there to be no drag from the lanyard running along it. If, when you duck dive, you cannot immediately see the line, then get your instructor or buddy to take a look and see where about the line you are starting the dive.
After taking your final breath, remove your snorkel and perform an equalization. One of my instructor trainers coined the term 'equalization' as it slightly inflates the eardrums outwards before the dive. You may find that you do not need to do this equalization. However, pressure changes are the most intense in the first 10 meters, and you may find that this pre-inflation of your ears helps you last until your first equalization of the dive, which can come as late as 4 or 5 meters deep.
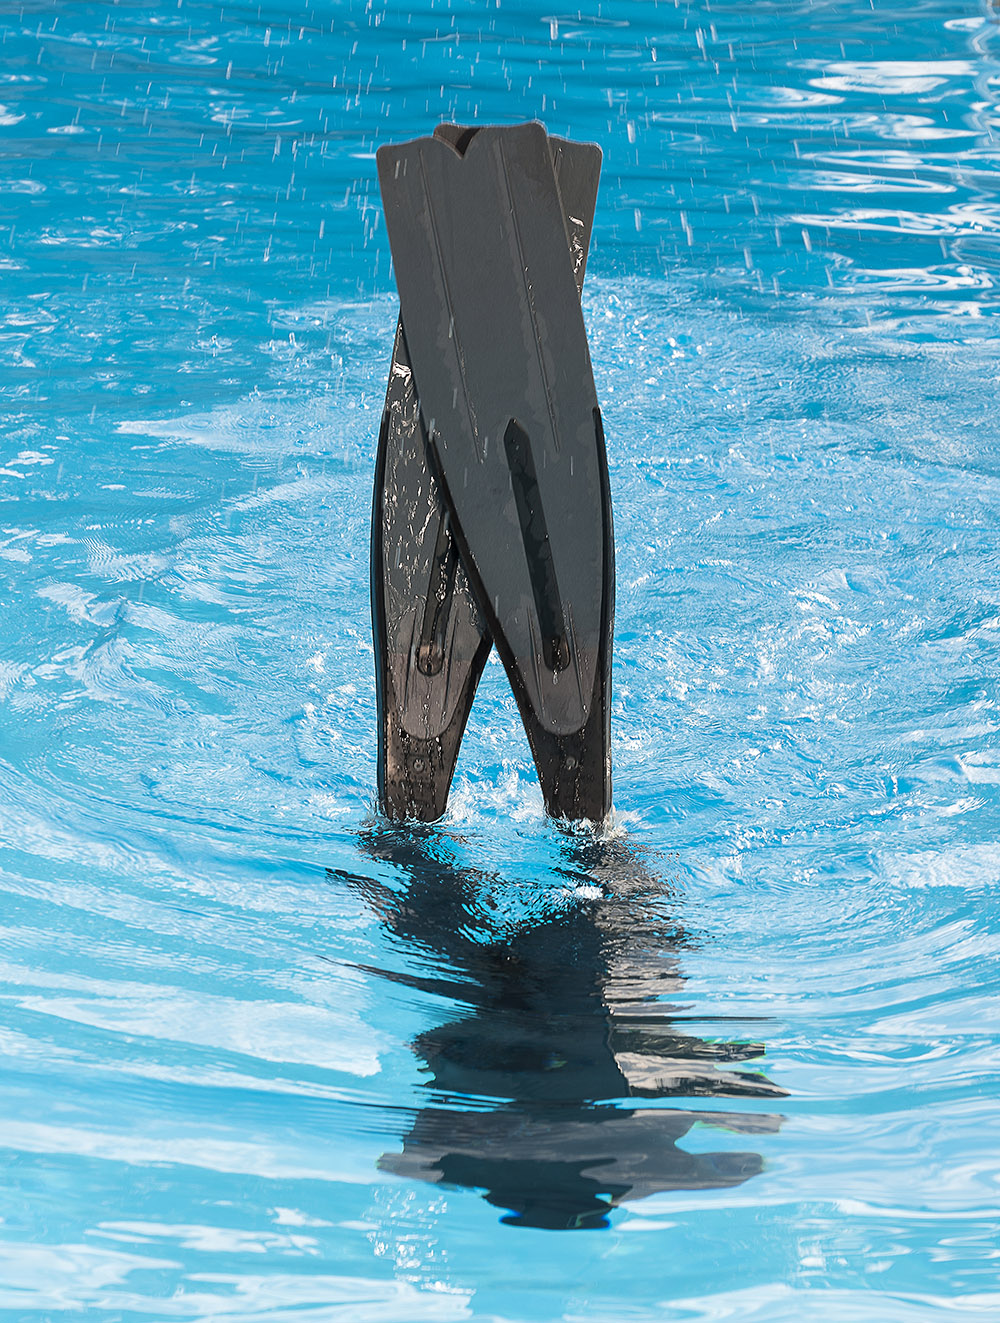
The next step is to put both arms out in front of you and dive forward with your arms leading your upper body, bending at your hips to create a right angle. This must be a confident movement. Imagine you are in a pool, trying to touch the bottom. Be aware at this point to keep the legs entirely straight so the body assumes a 90-degree angle, bent at your hips.
The next step is to raise both legs out of the water together until vertical, making your body straight again. This will naturally create the momentum to push you under the water without additional effort.
To understand this concept, float upright in the water with your head above the surface and then raise your arms over your head – your head will automatically dip below the water. This is the effect of simply lifting your arms. Submitting your legs vertically out of the water as part of the duck dive helps propel you under the surface. Beginners often bend their legs, separate them, don't bring them vertically, or bring them too far over. Again, use your buddy and instructor to assess what is happening with your legs if you have difficulties.
When your legs are vertical, bring both arms back to the side of your body in a scooping, breaststroke movement before getting one hand to your nose to equalize and then keeping it there (more on this in the chapter on equalization).
One common mistake people make is pulling their arms towards their bodies as soon as they enter the water. Wait until your legs are vertical; only then pull with your arms. If you need to do more than one arm pull, something has gone wrong.
When your arms have pulled, and you have equalized, start finning. If you complete these stages one after the other without a gap or overlap, you will find that your fins are entirely under the water by the time you make your first proper equalization and around 5 meters deep.
Ensure your finning is solid and effective in the first few meters not to lose the depth achieved by a good duck dive.
When diving by a line, it can be tempting to pull on the line to help you get under the water if your duck dive is inefficient. This is counter-productive and complicates and hinders the start of your dive. If this keeps happening, move away from the line to practice. The purpose of learning to dive on a line (preferably with a lanyard) is that it forces you to learn how to dive vertically down, so when recreational diving for photography or spearfishing, you can choose a point, duck dive, and know that you will hit it. It also means that your descent is as efficient as possible, and you have more time at depth.
Apart from coordinating the stages correctly, another common problem is that divers bring their upper body too far forward and their legs too far over, thus doing a somersault and ending up back on the surface. Again, the line is a valuable tool to help keep you vertical in the water.
To summarize, an effective duck dive gets you under the water with minimum effort. Duck diving can be simplified by reducing it to the following steps:
If you follow these steps one after the other, the duck dive will work perfectly for you. Make sure your duck dive is ahead of the line by about a meter so you end up facing the bar on your descent, and use your instructor and buddy to critique your duck dive and help you improve.
Freediving is about inward power, discipline and control. If you've always wanted to enter the underwater world quietly, on your terms, staying as long as your breath allows, then freediving is for you.
RELATED POSTS

Recent Posts


